
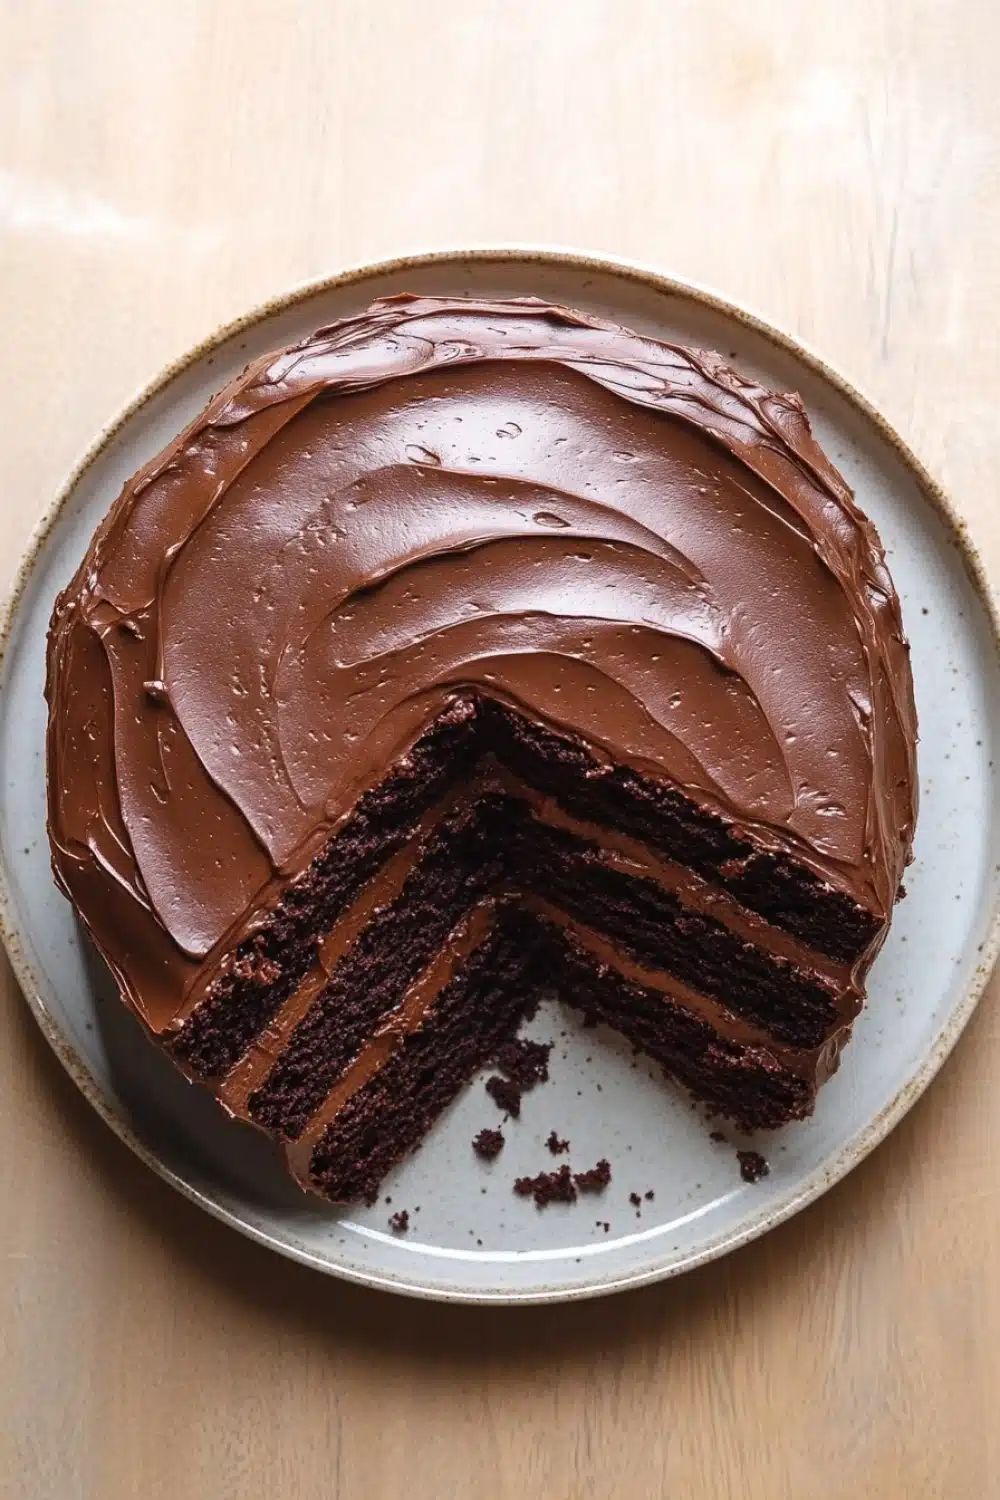
Let’s talk cake.
There’s something downright comforting about a classic chocolate cake done the normal way—not too fancy, just straight-up delicious. No wild decorations or gimmicks here; just a moist, chocolatey treat that hits the sweet spot every time. I’ve baked this recipe countless times, and it’s become my go-to when I want that no-fuss crowd-pleaser. The kind of cake that doesn’t need to shout to steal the show.
Picture this: the kitchen filled with the rich aroma of cocoa as the oven hums quietly in the background. The batter’s thin but silky, a telltale sign that the final cake will be soft and tender, a walk in the park for any home baker. The frosting comes next—smooth, fluffy, and just sweet enough to balance the bittersweet punch of cocoa. No over-the-top piping, just a simple crumb coat and a slick of chocolate frosting that invites you to dive right in.
In this recipe, simplicity is king—it’s about letting the ingredients do their thing without any flashy tricks. For me, that’s where the magic lies.
If you’re looking to elevate your dessert game, don’t miss our Irresistible Chocolate Cake Tres Leches Recipe to Try Now for a delicious twist on the classic chocolate cake.
Real-Life Perks of Baking This Classic Chocolate Cake
- Quick turnaround—ready to bake in under an hour, perfect for last-minute celebrations or a spontaneous sweet craving.
- The moist texture means your cake won’t turn into a crumbly mess, making it a crowd-pleaser for potlucks or family dinners.
- Boiling water in the batter? This trick amps up the cocoa flavor without any bitter aftertaste—a secret weapon for chocoholics.
- Versatile frosting that’s smooth enough to slather or pipe, letting you freestyle your cake’s look from rustic to runway-ready.
- Storing options are flexible—leave it on the counter if you plan to devour it fast, or chill it for a days-later treat that still tastes fresh as heck.
Classic Chocolate Cake
- Total Time: 55 minutes
- Yield: 12 1x
Description
A rich and moist classic chocolate cake with a smooth chocolate frosting, perfect for any celebration or dessert craving.
Ingredients
1 and 3/4 cups (220g) all-purpose flour
2 cups (400g) granulated sugar
3/4 cup (65g) unsweetened cocoa powder
1 and 1/2 teaspoons baking powder
1 and 1/2 teaspoons baking soda
1 teaspoon salt
2 large eggs, at room temperature
1 cup (240ml) whole milk, at room temperature
1/2 cup (120ml) vegetable oil
2 teaspoons pure vanilla extract
1 cup (240ml) boiling water
For the frosting:
1 cup (230g) unsalted butter, softened
3 and 1/2 cups (440g) powdered sugar, sifted
1/2 cup (45g) unsweetened cocoa powder
1/2 teaspoon salt
2 teaspoons pure vanilla extract
1/4 cup (60ml) heavy cream
Instructions
Preheat your oven to 350°F (175°C). Grease and flour two 9-inch round cake pans.
In a large mixing bowl, sift together the flour, sugar, cocoa powder, baking powder, baking soda, and salt.
Add the eggs, milk, vegetable oil, and vanilla extract to the dry ingredients. Beat on medium speed with an electric mixer for 2 minutes until well combined.
Carefully stir in the boiling water. The batter will be thin; this is normal.
Divide the batter evenly between the prepared cake pans.
Bake for 30 to 35 minutes or until a toothpick inserted into the center comes out clean.
Remove the cakes from the oven and allow them to cool in the pans for 10 minutes.
Turn the cakes out onto wire racks and cool completely before frosting.
To make the frosting, beat the softened butter on medium speed until creamy, about 2 minutes.
Gradually add the powdered sugar and cocoa powder, beating on low speed until combined.
Add the salt, vanilla extract, and heavy cream. Beat on high speed for about 3 minutes until the frosting is light and fluffy.
Place one cake layer on a serving plate. Spread a layer of frosting on top.
Place the second cake layer on top and apply a thin crumb coat of frosting over the entire cake. Chill for 15 minutes.
Apply the remaining frosting evenly over the top and sides of the cake.
Slice and serve. Store leftovers covered at room temperature for up to 2 days or refrigerated for up to 5 days.
- Prep Time: 20 minutes
- Cook Time: 35 minutes
Explore more:
Buzz in the Kitchen Recipes
Classic Chocolate Cake: Pro Tips, Hacks, and Fixes
The Quick Fix for a Dry Chocolate Cake
Ever had your moist chocolate cake turn into a crumbly sad mess? It happens more than you’d think — especially when ovens run hotter than their dials say. Here’s the lowdown: if your cake’s drier than a desert, it’s probably overbaked or the batter lacked enough fat or moisture. Next time, dial the bake time back by 3-5 minutes and stab-test with a toothpick early. Swap whole milk for buttermilk if you’ve got it; that tangy acidity works magic to tenderize crumb. Also, don’t skimp on the oil — vegetable oil keeps cakes juicy because it stays liquid unlike butter. Pro tip: stirring in a tablespoon of coffee (black, no cream) into the boiling water amps up that chocolate punch without tasting like your morning brew. Trust me — it’s a game-changer for depth without drying out the crumb.
Why Boiling Water? Breaking Down the Science—Fast and Furious
So you’re mixing in boiling water, and you might be wondering: what’s the point of this hot splash? Here’s the skinny—this is the secret saboteur that makes your cocoa powder bloom, releasing those dark, rich pigments and deepening the chocolate flavor beyond the basic cocoa powder kick. Boiling water also thins the batter, which helps the cake rise evenly and stay moist. But beware: don’t overmix after adding water or you’ll knock out the air bubbles that give the cake lift. The batter’s thinness can freak you out, but it’s exactly how it’s supposed to be. Imagine it like a thin batter that’s a bit like liquid velvet — it bakes up light yet dense with chocolate goodness. If you dump cold water or skip this step, you’ll get a chalky, flat cake. So, hot water is your best friend here, no white lies.
Frosting Follies? Nail It Every Time with These Tricks
Crumb coats are your unsung heroes. They trap those pesky crumbs that threaten to ruin the pristine finish of your chocolate masterpiece. Skip this step, and your frosting ends up looking like a polka-dotted nightmare. Here’s my frosting bible: always beat your butter till it’s smooth as silk before adding sugar. Whisking in powdered sugar too fast is a no-go — you’ll get a cloud of sugar dust and a gritty mess. Low-speed mixing when combining sugar and cocoa powder keeps the texture tight. Salt is your secret weapon here—it cuts through the sweetness like a boss and balances flavor. And yes, heavy cream isn’t just for show; it thins out the frosting just right, making it spreadable without turning into a drippy disaster. Chill your crumb-coated cake for 15 minutes—that’s the timeout it needs to firm up. Then slap on your final layer with a spatula, smooth it out, and you’re golden. Bonus tip: if your frosting is too stiff, a splash more cream or milk will rescue it. Too runny? Powdered sugar to the rescue. Frosting woes solved.
Classic Chocolate Cake FAQs
A: Not without tweaking. You’d need a 1-to-1 gluten-free flour blend that behaves like all-purpose flour. Otherwise, you might end up with a crumbly mess instead of that moist cake we’re after.
A: Yep, it’s key. The boiling water helps bloom the cocoa powder, boosting that deep chocolate flavor and making the batter super smooth. Skipping it? You’d miss out on some serious chocolate oomph.
A: Yes, but heads up: swapping oil for butter changes the texture a bit. Oil keeps it moist and tender, while butter might make it slightly denser and richer. If you go butter, melt it first and cool it before mixing in.
A: Easy. Keep it covered at room temp for up to 2 days or fridge it for up to 5. Just remember to bring it back to room temperature before eating for that perfect mouthfeel.
A: Yes! Just double all ingredients and bake in larger pans or multiple pans. Keep an eye on baking time—it might take longer, so test with a toothpick to check doneness.