
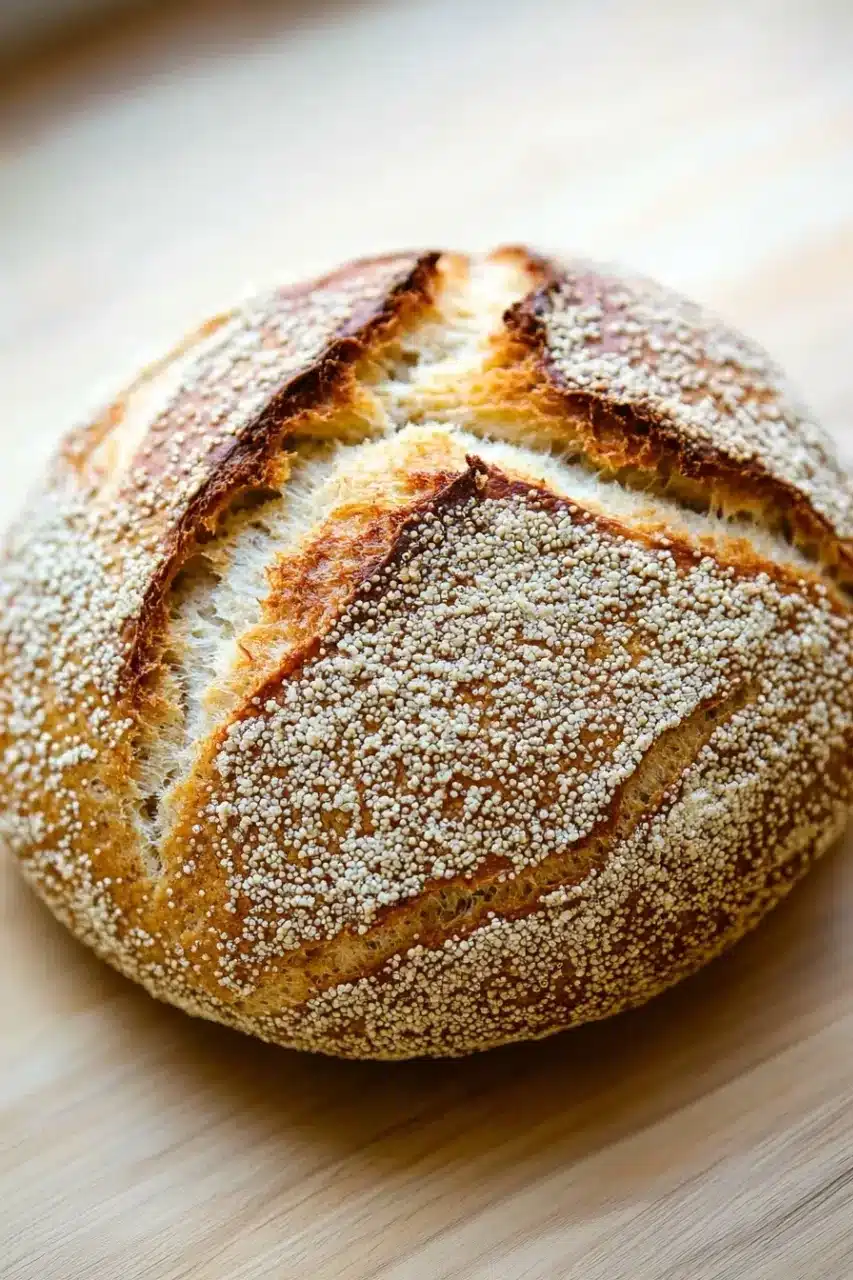
There’s something quietly satisfying about letting dough rise while you sip your morning coffee, the kitchen slowly filling with a warm, yeasty aroma. That’s where this no knead quinoa bread found its way into my weekend rituals. I don’t always have the patience or energy for complicated bread-making, and honestly, sometimes I get distracted halfway through. But this recipe keeps it simple—no kneading, just mixing, waiting, and baking. The crust comes out golden and crisp, the crumb tender with a subtle nuttiness from the quinoa flour that feels both wholesome and comforting.
One Saturday, I left the dough rising while I went off to do a few chores, forgetting it for a bit longer than planned. When I finally returned, it was bubbly and almost spilling over the bowl. The smell that hit me when I sliced into the warm loaf made me think, “I should probably do this more often.” Toasted with just a smear of butter, it was the perfect balance of hearty and light, with a texture somewhere between rustic country bread and sandwich loaf. It wasn’t perfect—some parts were a little denser than others—but that little imperfection made it feel homemade, real.
Why You’ll Love It:
– Minimal effort with a big payoff: no kneading means less mess and less time actively working.
– The quinoa flour adds a gentle nutty flavor and a slightly different texture than your usual loaf.
– It’s versatile enough for toast, sandwiches, or just eating plain.
– It takes time to rise, so it requires a bit of planning — but that slow wait builds flavor.
– It’s simple — and that’s kind of the point.
If you’ve never tried bread with quinoa flour, don’t worry. The taste is mild and approachable, not overpowering at all. Plus, the process is forgiving enough that even if you get distracted or forget a step, you’ll probably still end up with something delicious.
Print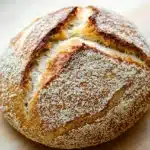
No Knead Quinoa Bread
- Total Time: 3 hours 55 minutes
- Yield: 8 slices 1x
Description
A simple, hearty no knead bread made with quinoa flour and all-purpose flour. This easy recipe requires minimal effort and yields a crusty, flavorful loaf perfect for sandwiches or toast.
Ingredients
1 cup warm water (about 110°F)
1/2 teaspoon active dry yeast
1 teaspoon sugar
1 cup quinoa flour
2 cups all-purpose flour
1 teaspoon salt
1 tablespoon olive oil
Instructions
In a large mixing bowl, combine the warm water, active dry yeast, and sugar. Stir gently and let sit for 5 minutes until the mixture is foamy.
Add the quinoa flour, all-purpose flour, salt, and olive oil to the yeast mixture. Stir with a wooden spoon or spatula until a sticky dough forms and all flour is incorporated.
Cover the bowl tightly with plastic wrap or a clean kitchen towel. Let the dough rise at room temperature for 3 to 3.5 hours, until it has doubled in size and bubbles appear on the surface.
Preheat the oven to 450°F (230°C). Place a Dutch oven or heavy oven-safe pot with a lid inside the oven to heat for 30 minutes.
While the pot heats, turn the dough out onto a well-floured surface. With floured hands, gently shape the dough into a round loaf without kneading.
Carefully remove the hot pot from the oven. Place a piece of parchment paper inside the pot, then transfer the dough onto the parchment paper.
Cover the pot with the lid and bake for 30 minutes. Remove the lid and bake for an additional 15 minutes until the crust is golden brown and crisp.
Remove the bread from the pot and transfer to a wire rack. Let cool completely before slicing.
- Prep Time: 10 minutes
- Cook Time: 45 minutes
Kitchen Notes:
I usually bake this in a heavy pot with a lid, which helps create that crisp crust without needing fancy equipment. If you don’t have a Dutch oven, any oven-safe pot with a lid will do. When serving, it’s great with just butter or a smear of jam, but it also holds up well to hearty sandwich fillings.
I’ve tried a few variations by swapping part of the all-purpose flour for whole wheat or adding herbs like rosemary, though I haven’t tested all of these thoroughly. Sometimes I add a handful of seeds on top for a little crunch, but honestly, the basic version is already pretty satisfying.
FAQ:
Q: Can I use all quinoa flour instead of mixing with all-purpose flour?
A: I haven’t tested that fully, but quinoa flour alone might make the loaf denser and less elastic.
Q: How long can I store this bread?
A: It keeps well for a few days in a paper bag or bread box. For longer storage, freeze it wrapped tightly and thaw before slicing.
Q: Can I shorten the rising time?
A: The slow rise helps develop flavor and texture, so shorter times might yield a less flavorful bread.
Give this no knead quinoa bread a try when you have a few hours to let it rise—it’s an easy way to enjoy homemade bread without a lot of fuss. Once you taste that crusty exterior and soft crumb, you might find yourself making it a regular part of your kitchen rhythm.