
Zero fuss. Maximum crunch.
There’s something almost magical about the way a no knead Dutch oven bread bakes—transforming a handful of humble ingredients into a crusty masterpiece without the usual elbow grease. I remember the first time I tried this method; the dough was sticky and wild, like a scruffy puppy begging for attention. But after a long wait, it puffed up into the kind of loaf that makes you drop everything and just stare.
The secret? Patience. The dough rests for hours, bubbling away slowly, developing flavor while you go about your day. No kneading, no punching down, just a lazy fold or two. Then, the Dutch oven comes into play—preheated to a blistering 450°F—creating a steamy cocoon that bakes the bread with a crust so crackly it practically sings when you slice into it.
For anyone who’s tired of dough drama but craves that rustic, bakery-quality bite, this recipe is a game changer. Trust me, this bread is worth the wait—and every crumb is a reward for letting go of control in the kitchen.
If you’re eager to try making no knead dutch oven bread at home, be sure to Master the No-Knead Bread Craze with This New York Times Classic for a foolproof recipe.
Why This No Knead Dutch Oven Bread Rocks in Real Life
- Bake with almost zero hands-on time—just mix, wait, and pop it in the oven. Perfect for busy folks who want fresh bread without babysitting dough.
- The crust is insanely crispy, thanks to the Dutch oven trap-and-steam magic—like having a pro bakery right in your kitchen.
- Minimal ingredients, maximum flavor. You don’t need a pantry full of fancy stuff to make something this good.
- Prep in the evening, bake the next day. The slow rise develops depth and character that quick-rise breads just can’t match.
- Great way to impress guests without breaking a sweat—serve warm slices with butter and watch jaws drop.

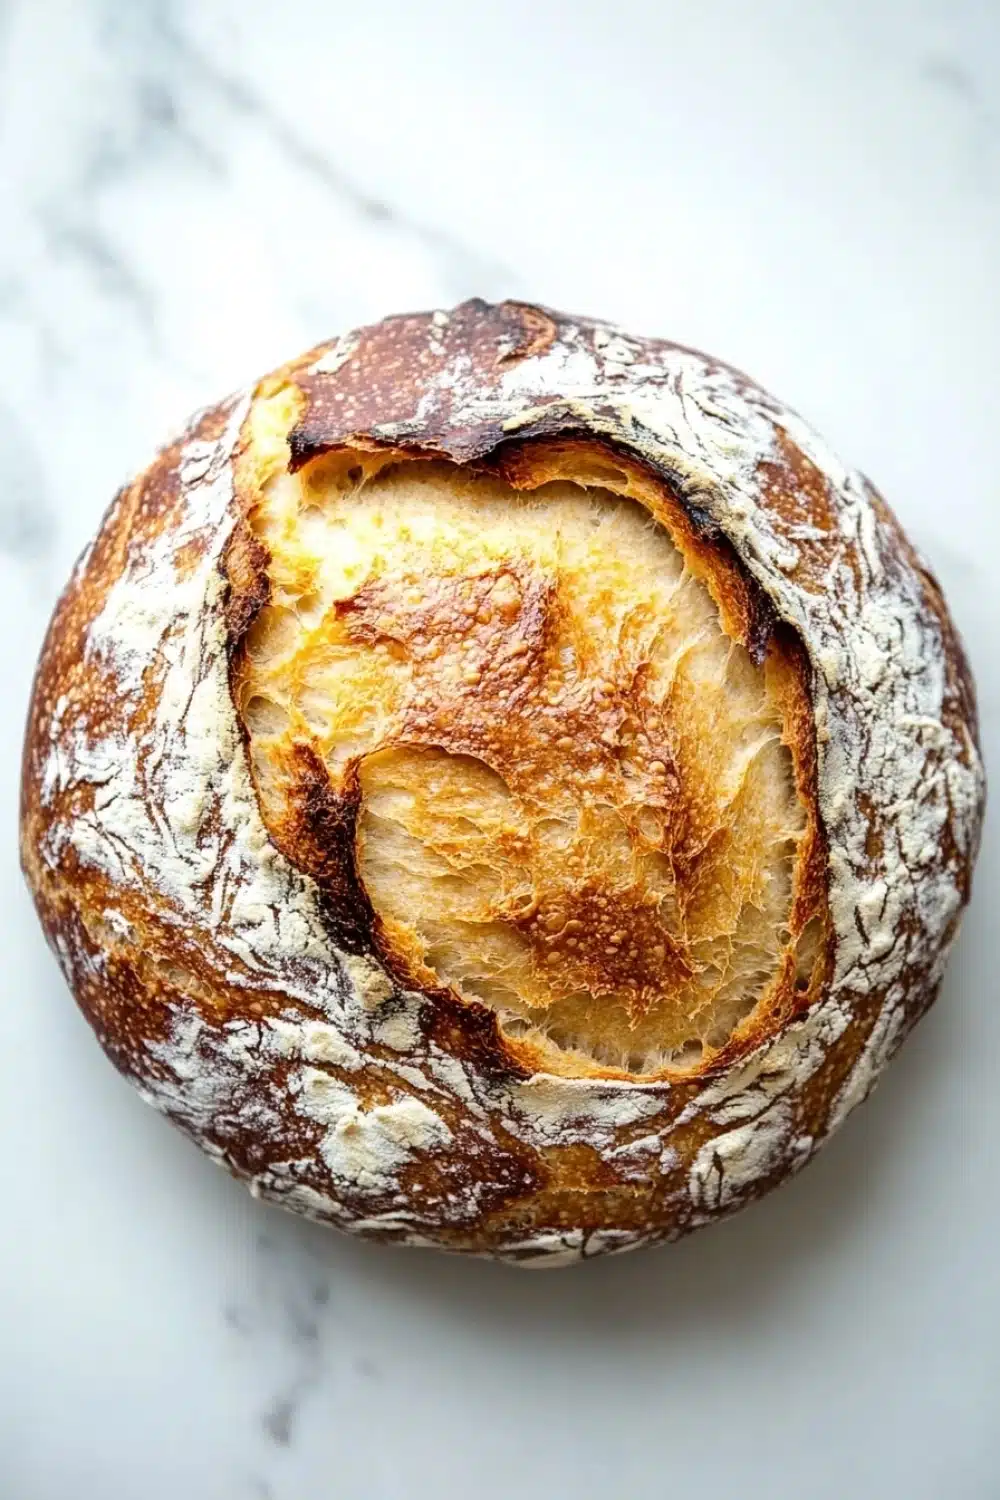
No Knead Dutch Oven Bread
- Total Time: 16 hours
- Yield: 8 1x
Description
A simple and delicious no knead bread baked in a Dutch oven to create a crusty, artisan-style loaf with minimal effort.
Ingredients
3 cups (360 grams) all-purpose flour
1/4 teaspoon instant yeast
1 1/4 teaspoons salt
1 1/2 cups (360 milliliters) warm water (about 110°F / 43°C)
Instructions
In a large mixing bowl, combine the all-purpose flour, instant yeast, and salt.
Pour the warm water into the dry ingredients and stir with a wooden spoon or spatula until a shaggy, sticky dough forms. Ensure all flour is incorporated.
Cover the bowl tightly with plastic wrap or a clean kitchen towel and let the dough rest at room temperature for 12 to 18 hours, until the surface is dotted with bubbles and the dough has doubled in size.
Lightly flour a clean work surface and turn the dough out onto it. With floured hands, fold the dough over on itself once or twice to shape it into a rough ball. Do not knead.
Place a large piece of parchment paper on a kitchen towel and dust it lightly with flour. Place the dough seam side down on the parchment paper. Cover with another towel and let rest for 1 to 2 hours until doubled in size.
About 30 minutes before baking, place a 5 to 6-quart Dutch oven with its lid in the oven and preheat to 450°F (232°C).
Carefully remove the hot Dutch oven from the oven. Lift the dough using the parchment paper and place both into the Dutch oven.
Cover with the lid and bake for 30 minutes.
Remove the lid and bake for an additional 15 minutes, until the bread is deep golden brown and crusty.
Using oven mitts, carefully remove the bread from the Dutch oven and transfer it to a wire rack to cool completely before slicing.
- Prep Time: 15 minutes
- Cook Time: 45 minutes
Explore more:
Breakfast Recipes
Mastering No-Knead Dutch Oven Bread: Tricks & Tweaks
The Magic of Minimalist Ingredients
This recipe’s charm lies in its barebones approach—just flour, yeast, salt, and water. Yet, each component pulls weight. Use bread flour instead of all-purpose if you want a chewier crumb; its higher protein content means more gluten development, even without kneading. Don’t skimp on salt—it’s not just for taste but controls yeast activity, balancing the rise. Instant yeast is a game-changer here; it wakes up faster and plays well with the long fermentation, perfect for an overnight dough. Tip: If your tap water is heavily chlorinated, use filtered or bottled water. Chlorine can mess with yeast’s mojo and slow fermentation. I once had a loaf that barely rose, and swapping out water fixed it instantly.
Why Dough That Feels Like a Hot Mess Is Actually Perfect
The shaggy, sticky dough you get after mixing might look like a disaster zone, but it’s exactly what you want. No kneading means no traditional gluten development, so the lengthy rest becomes your dough’s gym session. During those 12–18 hours, the flour hydrates fully, and tiny bubbles appear as yeast feasts on sugars—proof your bread’s alive and kicking. Folding the dough once or twice before the final rise isn’t to shape perfectly but to build gentle tension on the surface, like a loose drum skin. This tension traps gases, leading to that airy crumb and crackling crust. If your dough seems too stiff, add a splash more water next time—humidity and flour brand quirks play a part here. I’ve learned to trust the feel over measuring to a T; sloppy doughs usually bake into the best loaves.
When The Crust Flops and How to Rescue It
Here’s the lowdown: Dutch oven baking is your shortcut to bakery-level crust—the enclosed pot traps steam, creating that crackling crust we chase. But sometimes your crust stays soft or pale. Why?
— Oven temperature too low? Crank it up to a solid 450°F (232°C).
— Dutch oven not preheated long enough? Give it at least 30 minutes.
— Lid removed too late or too early? 30 minutes covered, then 15 uncovered is the sweet spot.
— Dough too wet? Slightly less water next round.
If you end up with a soft crust, pop the bread under the broiler for 2–3 minutes—stay alert!—to add instant crunch. Another trick: after baking, leave the bread uncovered on a rack to allow moisture to escape instead of trapping steam in a plastic bag. Learn these moves, and you’ll never dread a flat loaf again.
No Knead Dutch Oven Bread FAQs
How long does the dough need to rise?
The dough should rest for 12 to 18 hours at room temperature until it’s bubbly and doubled in size. This slow ferment is key to building flavor without any elbow grease.
Can I use active dry yeast instead of instant yeast?
Yes, but you’ll want to proof it first in the warm water for about 5-10 minutes until bubbly before mixing it with the flour and salt, unlike instant yeast which you can add directly.
Do I have to preheat the Dutch oven?
Absolutely. Preheating the Dutch oven to 450°F is crucial for that crackling crust. It’s like giving your bread a blast furnace environment right from the jump.
Is this bread good the next day?
Short answer: yes. The crust might lose some crunch but the inside stays moist. To refresh, pop slices in a toaster or reheat briefly in the oven to recapture that crusty magic.
What’s the secret to a crusty loaf?
Steam trapping inside the Dutch oven creates a mini sauna for the dough, allowing it to puff up and form that thick, crunchy crust. No fancy sprays or slashes needed—just patience and heat.