
Nothing says celebration quite like a beautifully crafted cake. This 18th Birthday Layer Cake is a showstopper made to mark a special milestone with grace and sweetness.
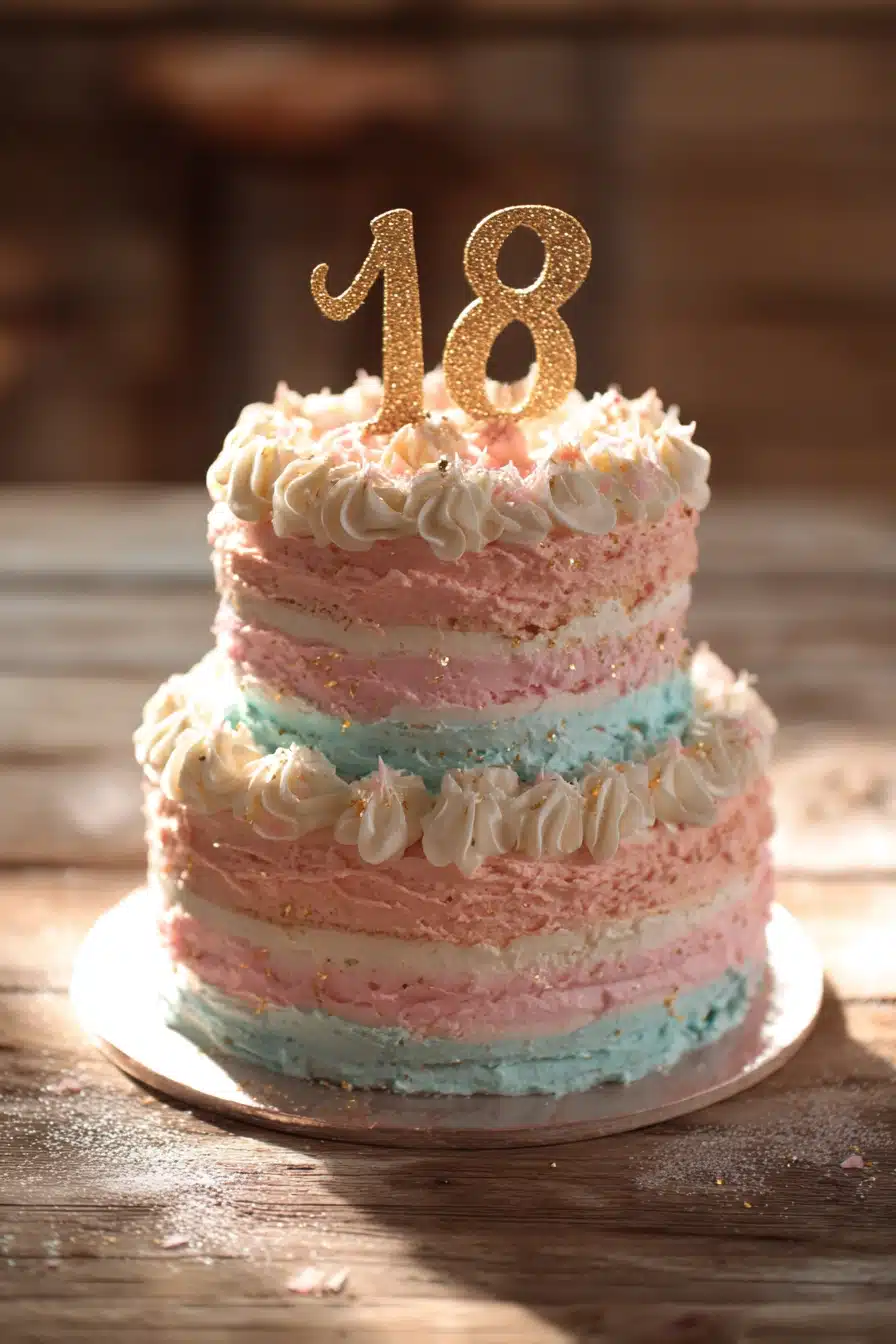
I still remember the joy of baking this cake for my niece’s 18th birthday. Watching the layers rise perfectly and then smoothing the soft vanilla buttercream frosting while adding delicate pastel rosettes made the whole kitchen feel warm and festive. The final touch—a shimmering edible gold glitter and the fondant ’18’ topper—made the moment truly magical.
Why You’ll Love It:
- Moist and fluffy cake layers that melt in your mouth
- Classic vanilla buttercream frosting with a smooth, creamy texture
- Elegant three-tier design, perfect for milestone celebrations
- Soft pastel colors with gold accents for an understated, chic look
- Easy to assemble and decorate with simple piping techniques
Perfect for those who want a stunning cake without complicated steps or exotic ingredients.
Print
18th Birthday Layer Cake
- Total Time: 1 hour 5 minutes
- Yield: 12 1x
Description
A moist and fluffy three-tier cake with smooth vanilla buttercream frosting, decorated with pastel pink and blue rosettes and a fondant ’18’ topper.
Ingredients
2 1/2 cups all-purpose flour
2 1/2 teaspoons baking powder
1 cup unsalted butter, softened
1 3/4 cups granulated sugar
4 large eggs
1 cup whole milk
2 teaspoons vanilla extract
4 cups powdered sugar
1/2 cup heavy cream
Food coloring (pastel pink and pastel blue)
Edible gold glitter
Fondant number ’18’
Instructions
Preheat the oven to 350°F (175°C). Grease and flour three 8-inch round cake pans.
In a medium bowl, whisk together all-purpose flour and baking powder; set aside.
In a large bowl, cream the unsalted butter and granulated sugar together until light and fluffy.
Add eggs one at a time, beating well after each addition.
Alternately add the dry ingredients and whole milk to the butter mixture, starting and ending with the dry ingredients. Mix until just combined.
Stir in vanilla extract.
Divide batter evenly among the prepared pans.
Bake for 30-35 minutes or until a toothpick inserted into the center comes out clean.
Allow cakes to cool in pans for 10 minutes, then turn out onto wire racks to cool completely.
For the vanilla buttercream frosting, beat together powdered sugar and unsalted butter until smooth.
Add heavy cream and vanilla extract, and beat until light and creamy.
Divide the frosting into three portions. Tint one with pastel pink, one with pastel blue, and leave one white.
Place the first cake layer on a cake stand or plate. Spread a layer of white frosting evenly on top.
Repeat with the second layer, using pastel pink frosting, then top with the third layer and cover the entire cake with pastel blue frosting, smoothing the surface.
Pipe rosettes around the edges using the tinted frostings for decoration.
Add edible gold glitter sparingly over the top for a shimmering effect.
Finish by placing the fondant number ’18’ topper centered on the top tier.
- Prep Time: 30 minutes
- Cook Time: 35 minutes
Frequently Asked Questions
How easy is it to make this cake for the first time?
It’s surprisingly straightforward! Just follow the step-by-step baking instructions, and the layering and frosting come together smoothly. The piped rosettes add an elegant touch but are simple enough for beginners.
Can I store leftovers, and how long will they stay fresh?
This cake stays fresh in the refrigerator for up to 3 days when covered tightly. Let it come to room temperature before serving for the best flavor and texture.
Save this recipe to your favorites, print it out for your baking day, and get ready to create a memorable centerpiece for your celebration!