
Wings done right.
There’s something about the crackling sound that hits just as you pull these bad boys from the oven. That first bite? An explosion of crispy skin yielding to tender, juicy meat—it’s what every chicken wing fanatic dreams about. No soggy bottoms here, just pure, crunchy bliss baked to golden perfection.
I remember the first time I nailed this recipe. The kitchen smelled like a smokehouse crossed with a spice bazaar, and the wings? They vanished faster than you can say “one more round.” It’s all in the prep—dry those wings like your life depends on it, and make sure that baking powder mix hugs every inch. This recipe isn’t just about flavor; it’s about texture, that snap-crackle-pop of a well-baked wing that’ll have your pals begging for your secret.
Forget the fryer fuss and greasy fingers—this is oven-baked magic that turns humble chicken wings into a showstopper. Ready to raise the bar on game day snacks or quick dinners? Let’s get cracking with these crispy juicy baked chicken wings.
For more tasty ideas, check out our Delicious Carnivore Diet Chicken Recipes – High-Fat & Easy that include crispy juicy baked chicken wings and other favorites.
Real-Life Wins from Crispy Juicy Baked Chicken Wings
- Skip the guilt—baked wings cut the grease but keep the crunch, making weeknight snacking less of a cheat code.
- Hands-off cooking: pop ’em in the oven and walk away without the splatter hassle or frying oil nightmares.
- Perfect for crowd-pleasing—these wings scale up easily and don’t demand nonstop oven babysitting.
- Get your flavor fix with the smoky paprika and cayenne kick—no deep fryer required to score that punchy zest.
- Leftovers? No sweat. Reheat in the oven, and the wings bounce right back, crispy and juicy like fresh off the rack.

Crispy Juicy Baked Chicken Wings
- Total Time: 1 hour
- Yield: 4 1x
Description
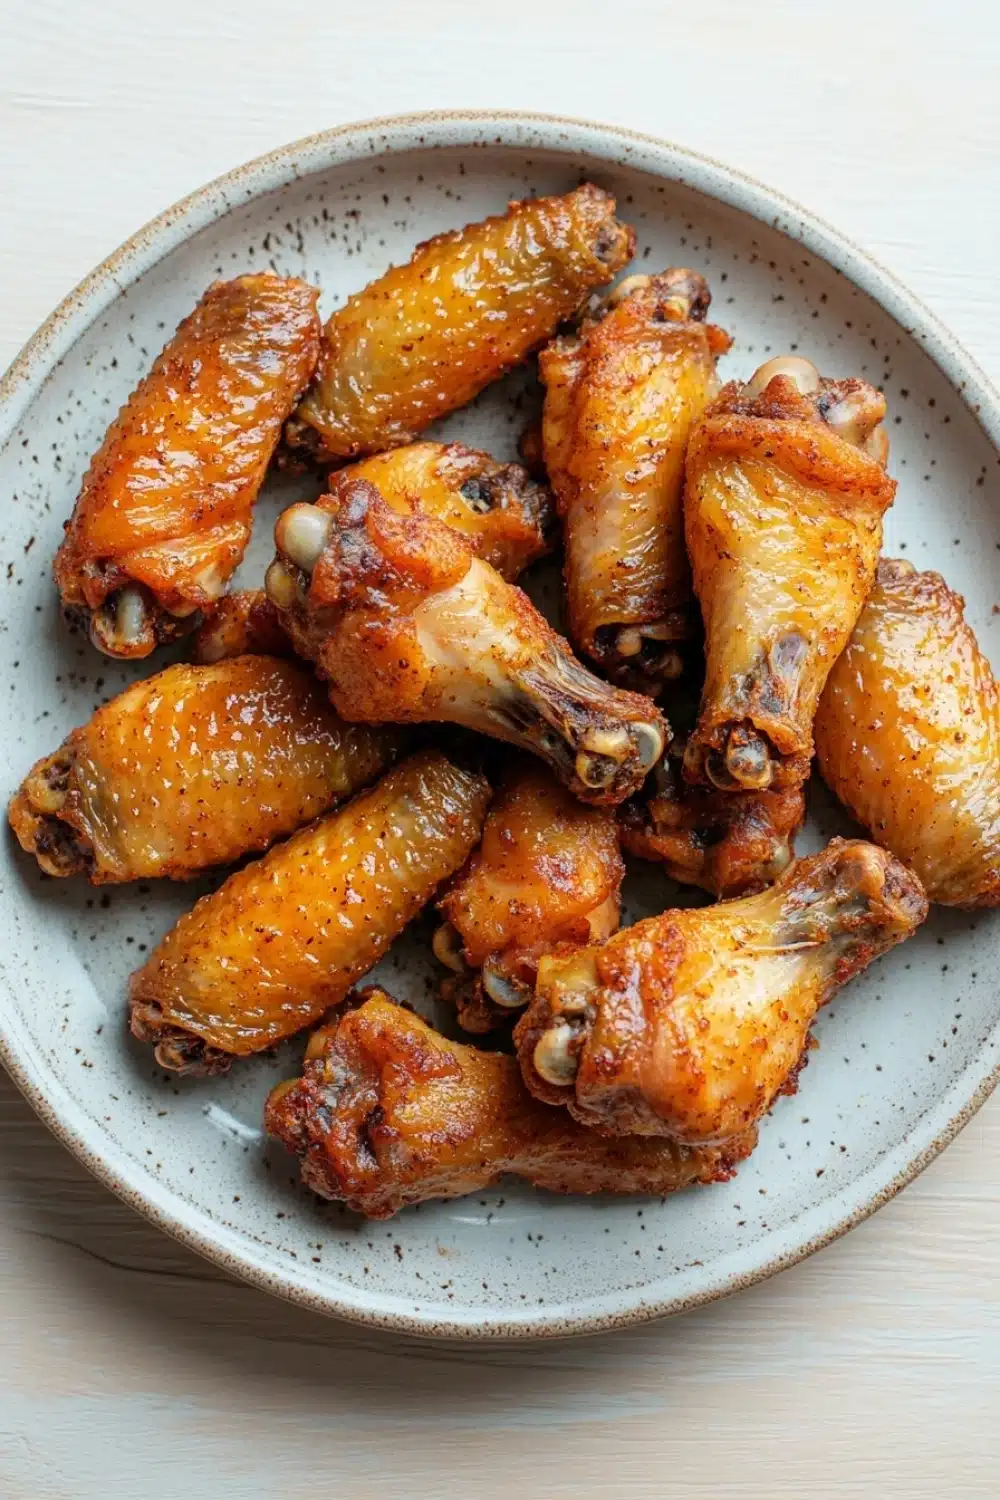
These crispy juicy baked chicken wings are perfectly seasoned and oven-baked to golden perfection, making them a delicious and healthier alternative to fried wings. Enjoy them as a snack, appetizer, or main dish with your favorite dipping sauce.
Ingredients
2 pounds chicken wings, tips removed and wings separated into drumettes and flats
1 tablespoon baking powder (aluminum-free)
1 teaspoon kosher salt
1/2 teaspoon freshly ground black pepper
1 teaspoon garlic powder
1 teaspoon smoked paprika
1/2 teaspoon onion powder
1/4 teaspoon cayenne pepper
1 tablespoon olive oil
Instructions
Preheat the oven to 425°F (220°C). Line a large baking sheet with aluminum foil and place a wire rack on top. Lightly grease the wire rack with olive oil to prevent sticking.
Pat the chicken wings dry thoroughly with paper towels to remove excess moisture. This step is essential for crispiness.
In a large bowl, combine the baking powder, kosher salt, black pepper, garlic powder, smoked paprika, onion powder, and cayenne pepper. Mix well.
Add the chicken wings to the bowl and drizzle with olive oil. Toss the wings until they are evenly coated with the baking powder mixture and oil.
Arrange the wings in a single layer on the prepared wire rack, making sure they are not touching to allow air circulation.
Bake the wings in the preheated oven for 20 minutes. Then, flip each wing over and bake for an additional 20-25 minutes, or until the wings are golden brown and crispy.
For extra crispiness, you can broil the wings for 2-3 minutes at the end of cooking, watching closely to avoid burning.
Remove the wings from the oven and let them rest for 5 minutes before serving. Serve hot with your favorite dipping sauce.
- Prep Time: 15 minutes
- Cook Time: 45 minutes
Explore more:
Dinner Recipes
Master Crispy Juicy Baked Chicken Wings
The Baking Powder Hack That Changes Everything
Let me drop a truth bomb right off the bat: baking powder is your wings’ best friend—if you want crackling skin without frying. It’s not just a fluff agent for cakes; it’s a game-changer for moisture control. When you toss those wings in baking powder (make sure it’s aluminum-free to avoid a weird metallic taste), it raises the pH level on the skin’s surface. This speeds up the browning reaction—aka the Maillard reaction—that we all crave for that golden crust. But here’s the kicker—you need to pat those wings bone-dry first. If they’re even a tad damp, your wings will steam, not crisp. I’ve botched batches skipping the drying step, and trust me, soggy wings are a cardinal sin in this game. So, no shortcuts here. Dry wings plus baking powder equals crispy magic.
Why The Wire Rack Is Your Best Wing Wingman
Here’s what we’re dealing with: cooking wings in a big heap? Nah, that’s a no-go. You want airflow like a boss. The wire rack is the unsung hero—it lets hot air circulate 360 degrees around each wing. This means the skin crisps from all sides, not just the bottom. Plus, it keeps your wings from swimming in their own juices (gross). I’m talking zero sog factor. Now, if you’re using a foil-lined pan, make sure to grease that rack lightly with olive oil so the wings don’t stick and rip when you flip. Flip? Yep, halfway through baking, flip each wing—don’t just trust the heat to evenly crisp it on one side. This flip is the secret sauce to even color and crunch. I learned this the hard way after tasting half-baked wings with one sad soggy side—never again.
Fixing Common Wing Fails—No More Rubber, No More Burn
Rubber wings? Burned wings? We’ve all been there. Here’s how to dodge those rookie mistakes.
Rubber wings: Usually a moisture or temperature issue. If you underbake or cram too many wings on the rack, they steam and turn rubbery. Give each wing breathing room—crowding the pan is a no-no. Also, bake at the right temp (425°F/220°C) to render fat properly.
Burned wings: The broil step at the end is for quick crisping, not a slow roast. Watch those wings like a hawk—2-3 minutes max under the broiler. I set a timer religiously because it’s easy to cross from crispy to charred in seconds.
Pro tip: let your wings rest after baking. This helps the skin firm up, locking in juices. Bite into them too hot, and your mouth pays the price. Patience is a virtue, even with wings.
Crispy Juicy Baked Chicken Wings FAQs
A: It’s best to stick with aluminum-free baking powder here. The aluminum can leave a metallic taste that throws off the flavor balance—nobody wants that ghost in their wings.
A: Absolutely. This step is non-negotiable if you want that signature crisp. Moisture is the enemy of crunch, so grab those paper towels and get to work.
A: Yes! The recipe already calls for cayenne for a mild kick, but if you like it hotter, toss in some chili powder or hot sauce before baking. Just don’t go full fire-breathing dragon unless you’re ready to sweat.
A: Totally. Baking wings cuts down on the grease and mess, making it a cleaner, lighter way to enjoy wings without sacrificing that crispy exterior we all crave. Plus, your kitchen won’t smell like a grease trap for days.
A: Yes and no. You can freeze them, but the crispiness might take a hit once thawed. Reheat them in the oven before serving to bring back some crunch.